The Treatment Plan Area is where treatment is planned in detail for the patient.
Appointment Workflow:
If the Appointment Workflow facility has been configured, Providers play an important role in Treatment Planning in the Appointment Workflow.
After a Provider clicks to "accept the patient into the chair", EXACT assumes that the patient is enduring treatment and makes available all appropriate software functionality.
EXACT will continue with this assumption until the Provider either Completes treatment or Charges/Invoices treatment, at which time EXACT assumes that the patient has gone to departure, and makes the Departure Task List available to the Receptionist.
From v11.7 EXACT no longer accepts Saving and Estimate creation as triggers for moving the patient to departure.
Workflow Tip: From v12 the Clinical Notes made during treatment remain editable until midnight of that day, when they become read-only. This enables clinicians to keep the workflow going by writing abbreviated Clinical Notes during treatment, moving the patient to departure and payment, and returning later to supplement / complete the abbreviated Clinical Notes.
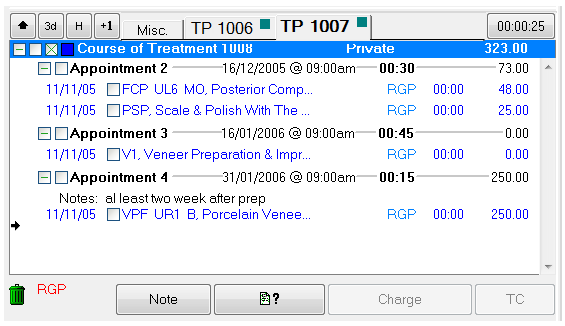
To plan a treatment
NOTES:
- You can either select a tooth and then select a service, or select a service, and while it is highlighted, click the tooth (or teeth) that the service applies to.
- To remove a service from the treatment plan, you can either highlight it and press the ![]() button on the keyboard, or right-click it with the mouse, and select 'Delete' from the drop-down menu.
button on the keyboard, or right-click it with the mouse, and select 'Delete' from the drop-down menu.
- To edit a service item, right-click it in the Treatment Plan area, and select 'Edit' from the drop-down menu.
If there is a document attached to the service in the treatment plan and it has been configured to pop up on completion, you will need to attend to it at this stage. This may mean entering some details, or printing and signing it. See "Service Item Details Tab" for more details about setting up service items.