If your practice wishes to process patient invoices for private treatment as a batch, so that you can print and send out the invoices on one day per month (for example), the process must be started at the time the treatment plan is marked as complete.
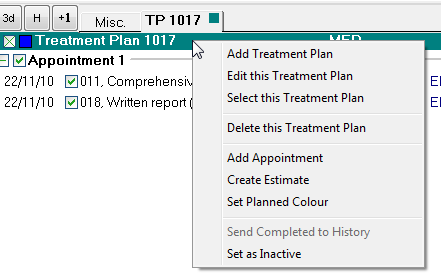
Right-click on the header of the treatment plan to be added to batch invoicing, to display the right-click menu:
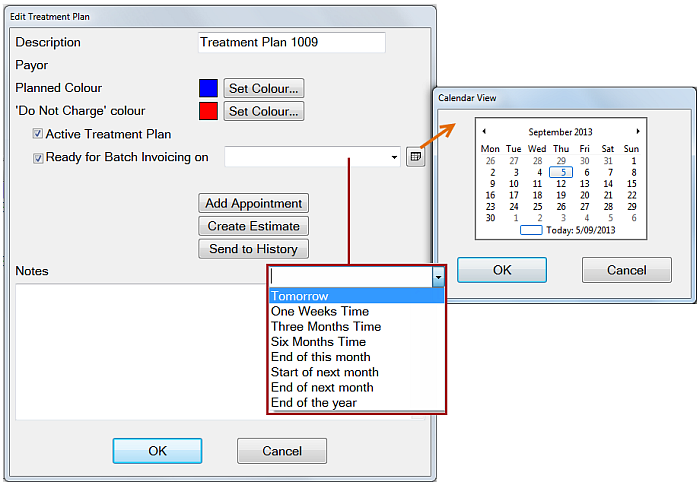
Select the 'Edit this Treatment Plan' option to display the Edit Treatment Plan window:
Check the Ready for Batch Invoicing on checkbox so that it is ticked, then click in the field to the right and select a date option prior to (or on) the date you intend to run the batch invoicing (see selection options indicated above). This will ensure this invoice is not included in an earlier run.
If there are any other details of the treatment plan you wish to edit, such as adding an appointment, creating an estimate, or adding a note, do this now.
Click the button to save the details and close the dialog.