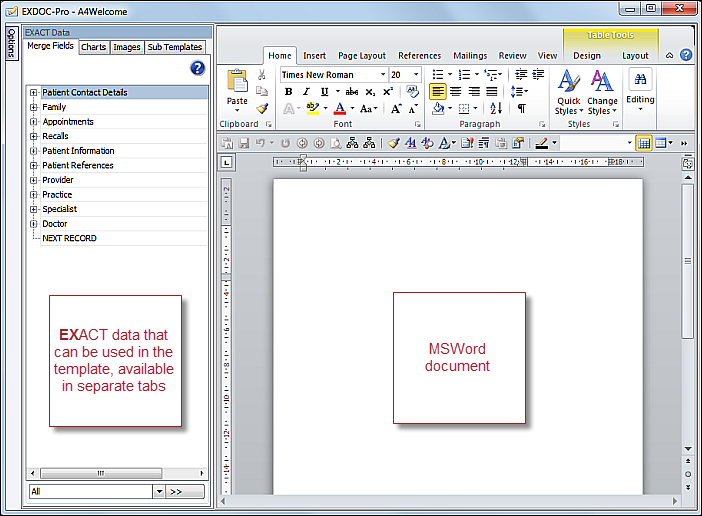
Use available EXACT data from the left pane as you construct the template in the MS Word document in the right pane:
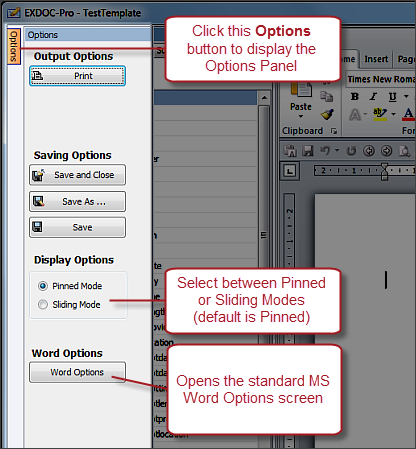
To use the EXDOC-PRO Options Panel for MS Word Print, Save and Settings
In EXDOC-PRO the MSWord print, save and settings are available on a separate Options panel.
The Options panel displays:
To include EXACT data in the MS Word document template:
![]()
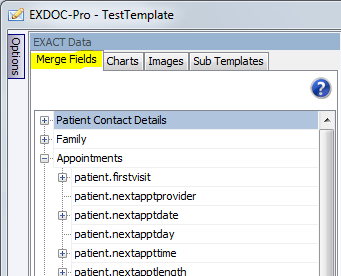
The available EXACT data is arranged in tabs in the left pane for quick and easy inclusion in the MS Word document template.
For an overview per tab see below.
For procedures per tab, see:
|
Merge Fields Tab In EXDOC-PRO a merge field is a set of codes that instructs Word to insert custom text into documents that are automatically generated through EXACT. Also refer to MS Word Help for information on merge fields. For example, when EXACT automatically generates an appointment reminder, it will customise the patient.firstname merge field per patient, so that the reminder to John Jones will state "Hi John" and the reminder to Reshma Naidoo will state "Hi Reshma". When you create the template, either - Drag the merge fields into the appropriate position in the document, or - Position the cursor in the template and double-click the merge field, or - Position the cursor in the template, click to select the merge field in the left pane, then click the Insert button Use the Filter at the bottom of the pane to quickly locate a specific merge field:
EasyPost users see also: Enabling EasyPost support in Presentation Manager for an explanation of the EasyPost Support button. SEE ALSO: Using the Merge Fields Tab in EXDOC-PRO
|
|
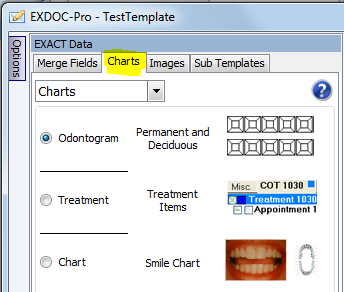
Charts Tab Use this tab to insert patient clinical information at the current position in the template (each patient will see their own graphics in the resulting document output). The dropdown menu offers further chart options. For example:
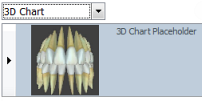
Depending which clinical content you select, you will have the option of either adding the content or of deferring it and adding a Place Holder for it:
The Add Recent option informs EXACT to populate the content with the most recently recorded content for the patient (for example the latest chart). The Place Holder is simply a place that the clinician can later manually populate when dealing with a patient and looking at the patient's document. To add content, First position your cursor exactly where you want the graphic in the template. Then select the chart option in the Charts pane and click the Insert button Resize it as appropriate. SEE ALSO: Using the Charts Tab in EXDOC-PRO
|
|
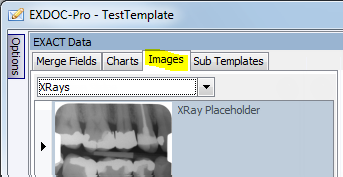
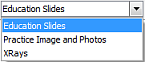
Images Tab Use this tab to insert images from your system into the current cursor position in the template (once selected, click the Insert button Select the category of images from the dropdown menu:
Browse to find other images on your computer / network: SEE ALSO: Using the Images Tab in EXDOC-PRO
|
|
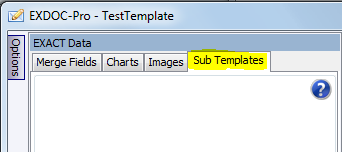
Sub Templates Tab |