Using the Sub Templates Tab in EXDOC-PRO

ImagesTab-SubTemplates

Purpose:

Regular use of the Sub Templates saves time.

They enable a practice to set up sections of text for frequent repetition in documents. For example,

To add a sub-template to a document template

  1. Place the cursor in the document template where you want the sub template content to appear.
  2. Double-click the appropriate sub template to add it to the document:

    ImagesTab-SubTemplates-Insert

  3. Edit / customise the content as necessary.

To create a new sub template

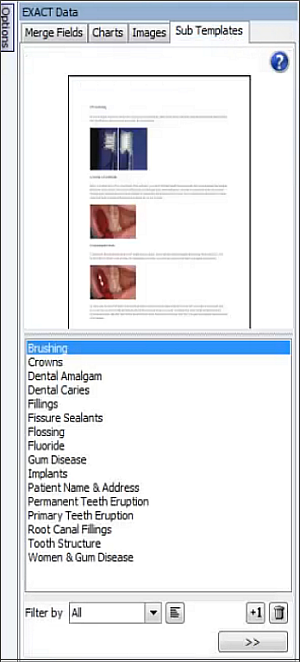
First create the required content in a normal template, and then open the Sub Templates Tab with the required content displayed in the MS Word document. Then do the following:

ImagesTab-SubTemplates-numbered

nums-20x20-bw-01

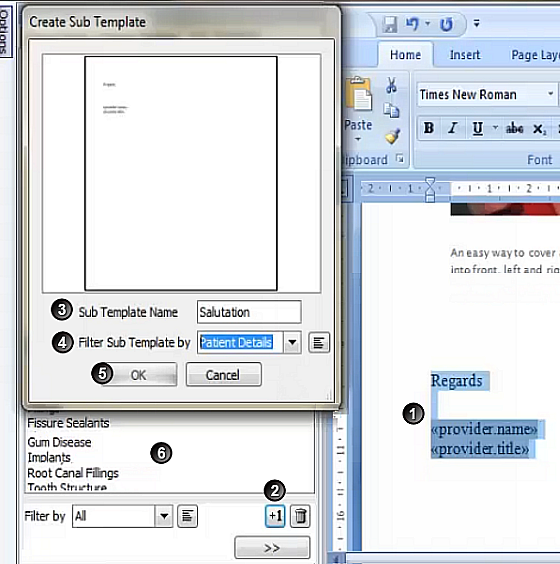
Highlight the content that you want to define as a Sub Template.

nums-20x20-bw-02

Click the +1 button at the bottom of the Sub Templates pane to open the Create Sub Template window.

nums-20x20-bw-03

Type a Sub Template Name.

nums-20x20-bw-04

In the Filter Sub Template by field, optionally select or create a category that applies to this sub template.

b_QueryTemplates You can also use the Edit/create button to create a new category.

nums-20x20-bw-05

Click OK.

nums-20x20-bw-06

Check that the filter displays in this list.

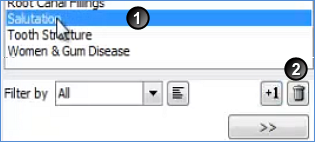
To delete a Sub Template

  1. Highlight it in the list
  2. Select the Delete / Bin button.

    ImagesTab-SubTemplates-delete

  3. Click Yes to confirm deletion.

See also...

The EXDOC-PRO screen

Using Pinned or Sliding Mode for the Options Panel

Using the Merge Fields Tab in EXDOC-PRO

Using Merge Fields for Preferred Locations

Using the Charts Tab in EXDOC-PRO

Using the Images Tab in EXDOC-PRO

Enabling EasyPost support in Presentation Manager

Next >>

Enabling EasyPost support in Presentation Manager