Using the Images Tab in EXDOC-PRO

ImagesTab-PracticeImages

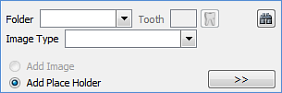
Actual content or place holder content?

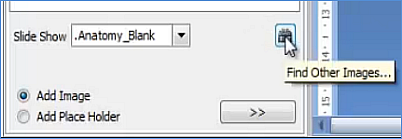
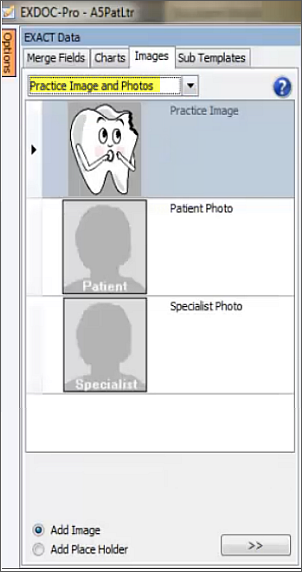
Depending which clinical content you select, you may have the option of either adding the content itself (default) or of adding a Place Holder for it:

ImageOrPlaceholder

The Add Image option is the actual image stored as such in the system.

The Place Holder is generic "dummy" content that the clinician can later manually swap out when dealing with a patient and looking at the patient's document.

To import practice photos (such as photos of staff members) into a document template

  1. Position your cursor at the location where you want to insert an image in the document.
  2. In the Images tab dropdown, select the Practice Image and Photos option:

    ImagesTab-PracticeImagesAndPhotoss

  3. Select the image and then select the Insert button >>.
  4. Move or resize it as required.

To import education slides into a document template

  1. Position your cursor at the location where you want to insert an image in the document.
  2. In the Images tab dropdown, select the Education Slides option:

    ImagesTab-EducatSlides

  3. Select the image and then select the Insert button >>.
  4. Move or resize it as required.

To import Xray photos into a document template

  1. Position your cursor at the location where you want to insert an image in the document.
  2. In the Images tab dropdown, select the Xrays option:

    ImagesTab-XRays

    You'll notice that you can only add a Place Holder image.

  3. Use the controls to locate images and display them:

    PlaceHolder-Xrays-Controls

  4. Select the image and then select the Insert button >>.
  5. Move or resize it as required.

To import images from your computer into a document template

  1. Position your cursor at the location where you want to insert an image in the document.
  2. In the Images tab, select the Search icon:

    ImagesTab-ImageSearchIcon

  3. Browse for the image in the normal way:

    SearchDialogue

  4. Select the image and then select the Insert button >>.
  5. Move or resize it as required.

See also...

The EXDOC-PRO screen

Using Pinned or Sliding Mode for the Options Panel

Using the Merge Fields Tab in EXDOC-PRO

Using Merge Fields for Preferred Locations

Using the Charts Tab in EXDOC-PRO

Using the Sub Templates Tab in EXDOC-PRO

Enabling EasyPost support in Presentation Manager

Next >>

Using the Sub Templates Tab in EXDOC-PRO