- Start from the Patient File (any patient, on any tab).
- Click the Create Patient Document button:

You will see the Document Details screen, with any templates that you currently have displayed on the screen.
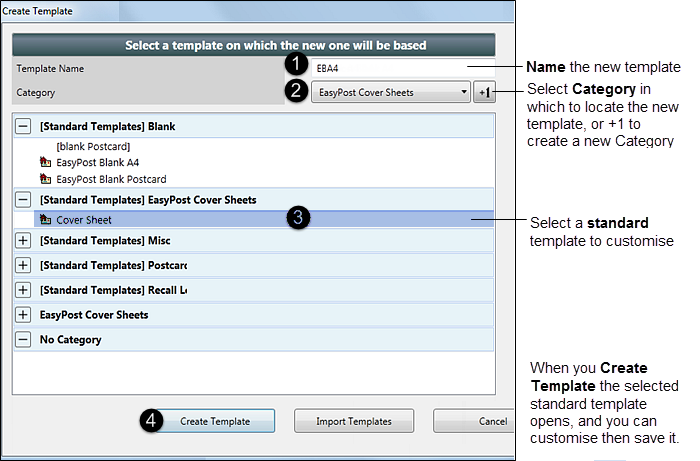
- Select the +1 button at the bottom of the screen:


The Create Template screen displays, with default (locked) Standard Templates listed. You have to base any New template on a standard template, so it is essential to select a starting template.
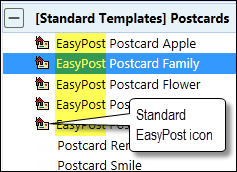
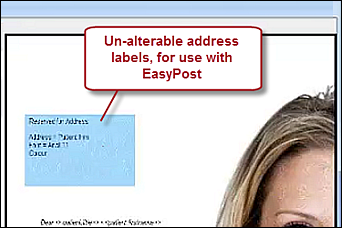
IMPORTANT: For EasyPost you must select an EasyPost template as these have the address labels set up for EasyPost.
- In the Create Template window:
TIP: Create an EasyPost folder for your EasyPost templates so that you can easily see which are available for EasyPost.
- Click the Create Template button.
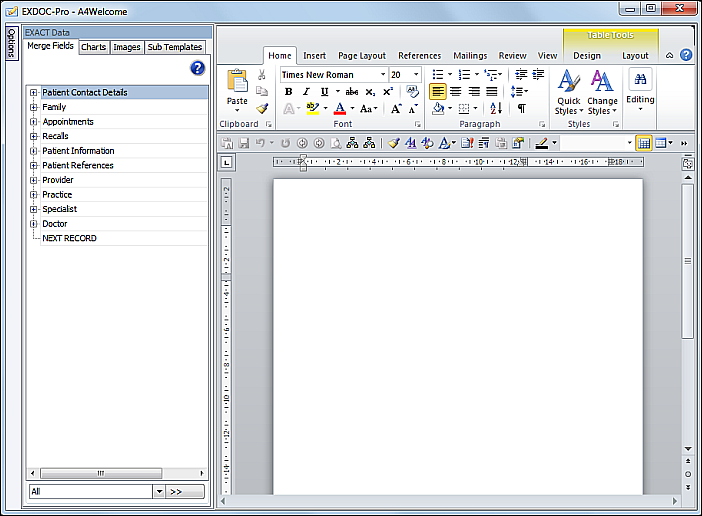
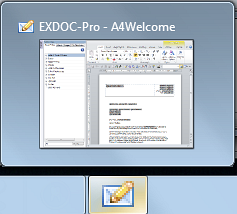
This launches EXDOC-PRO with the existing template opened in MS Word (if you started off a blank template the entire page will be blank).
You will also see the EXDOC-PRO icon in your taskbar:
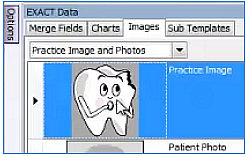
- In the EXDOC-PRO module, add a Practice image to the MS Word template document, and resize it / reposition it on the page.
- Add a text box to the template page in order to hold the Practice Name and details.

- Open the Merge Fields tab, locate the Practice merge fields, and with your cursor in the text box on the MS Word page, double-click the practice.name merge field to insert it into the text box.
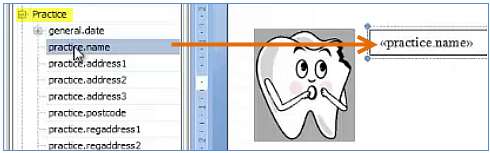
(Use MS Word functions to resize the font and change its colour)
- Follow a similar procedure to add the practice.address merge fields (multiple), and practice.phone to the text box, right-justify them and optionally change font.
- Optionally remove the text box border and draw a line under the heading.

- With your letterhead now established in this single template, it is advisable to save it as a sub template that you can use "as is" in multiple other documents:
- Highlight the letterhead on the MS Word page,
- Open the Sub Templates tab in the left pane,
- Select +1 to add a New sub template,
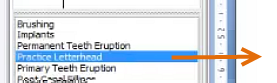
- Type a Sub Template Name (in our example, Practice Letterhead),
- Optionally assign/create a category for filtering (in our example, Practice Details),
- Click OK.
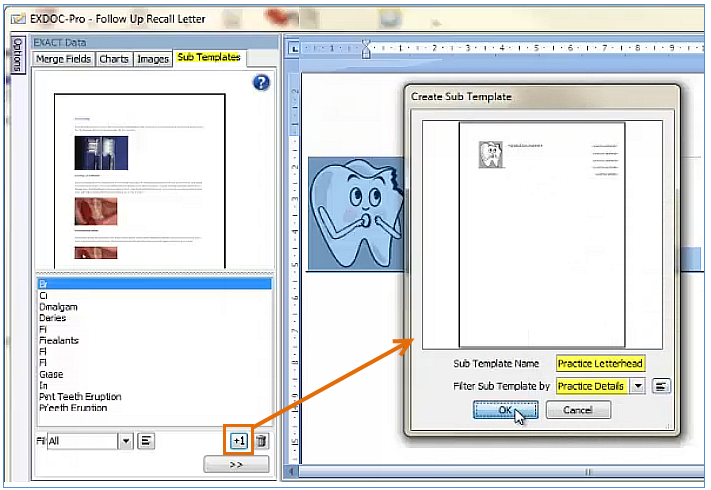
(The Sub Template is then listed at left. Simply double-click to insert it at the cursor position in any document.)
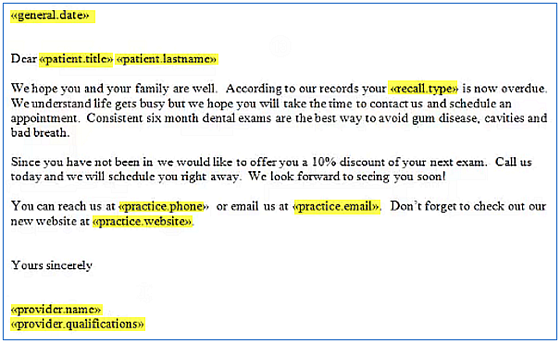
- Use a combination of typed text and merge fields to create the body of the letter and its salutation.
(Tip: save your salutation as a sub template)
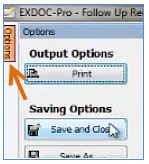
- Click the Options button at top left and Save and Close this template, and return to the Document Details screen.
- In the Document Details screen, select the template name in the list at left and then click the Preview button to preview the template.
The Patient Document (not the template!) now displays.
- Check the patient name in the very top Window bar to confirm that it is a Patient Document.
- Check the template. All merge fields should be populated.
- You can now edit this document as required for this specific patient.
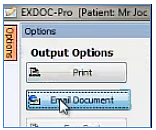
- Optionally print or Email this Patient Document (see Emailing a Patient Document).
Once emailed or printed, the document becomes a read-only PDF file, listed in the Contacts tab of the Patient File (see Re-opening a Patient Document).