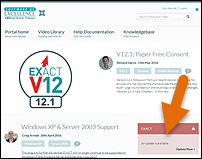
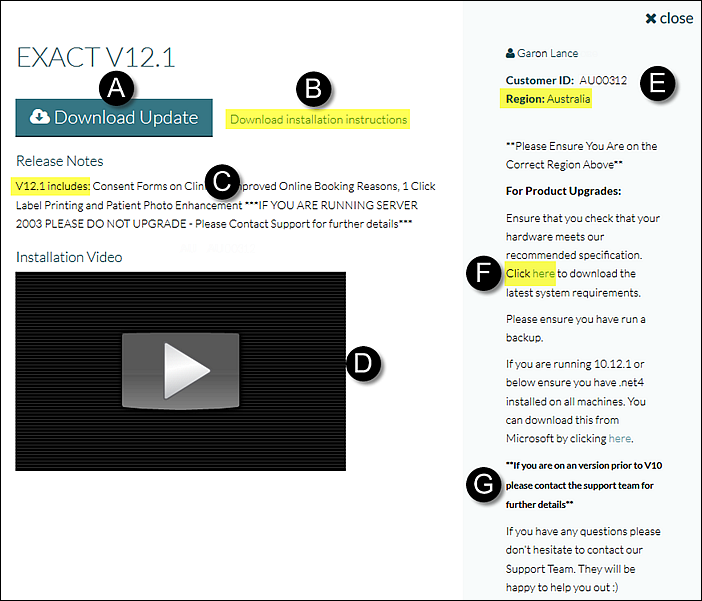
Summary of changes for this release of software, including any important announcements.
Video instructions.
! Check here that this download software is for your region.
( PDF) System requirements include hardware and software prerequisites for the EXACT installation.
Click to open or Right-click for menu options, including PDF download.
This is a special note for those upgrading from older software, for whom the update process is a big step that is best managed remotely by the Support Team.
NOTE: If you are upgrading from version 10 or earlier you will need to install Microsoft .NET4 on all computers. This can be installed as part of the EXACT update, but it will mean the update will take considerably longer. We would recommend that you download Microsoft .NET4 and install it prior to upgrading EXACT, and perform the two installations on different days. If you require further information about Microsoft .NET4 please seek advice from your IT contractor/department.
To install an EXACT update
Run the installation file from your server to automatically update both server and workstations during the installation process.
If the process skips a workstation you can run the installation file just on that workstation.
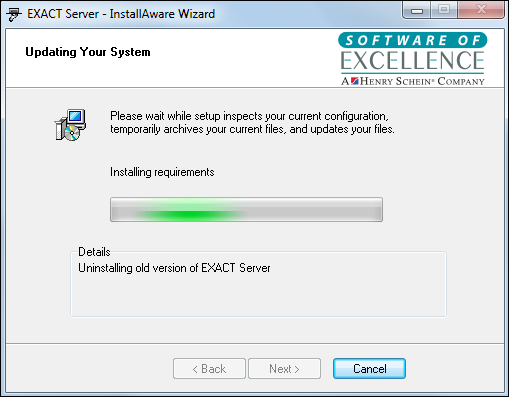
Run the server installation file from the server and then respond to the prompts as it runs through the following install sequence:
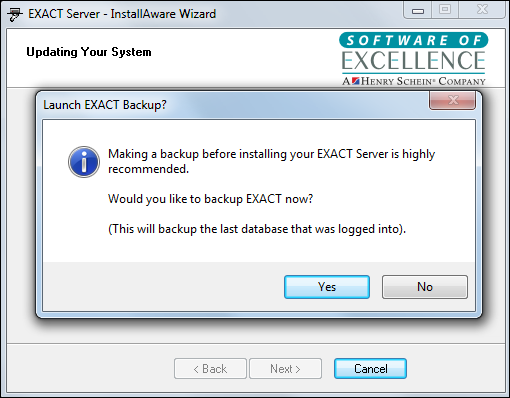
Select Yes to backup.
You have the option to select Noand skip the backup, which is inadvisable. In a later step you will need to confirm that you have backed up your data or that you are deliberately not doing so. Your backup decision (Yes or No) is recorded in the installation log file.
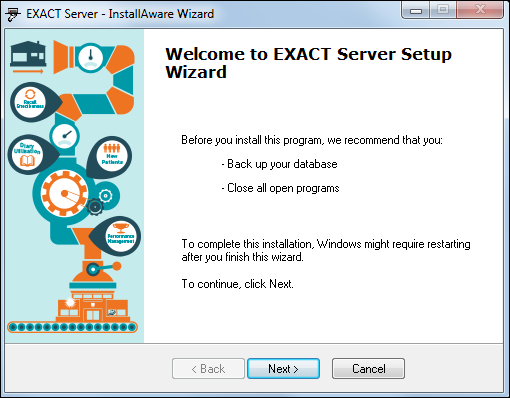
Select Next >
This includes another prompt to backup your database.
Closing all other programs is advisable but not a prerequisite (note however that you may need to restart your computer after update, in which case you will be closing all programs anyway).
Select Next >
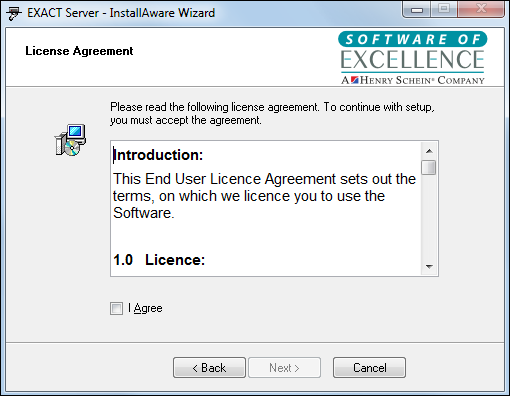
From this step you have the option of clicking the < Back button to revert to the previous step.
Read through the license agreement and then check the I Agree checkbox to be able to continue.
If you do not want to check this checkbox please contact your Support Desk, FIT team member or Salesperson to discuss options.
Assuming you have agreed, select Next > when it becomes active.
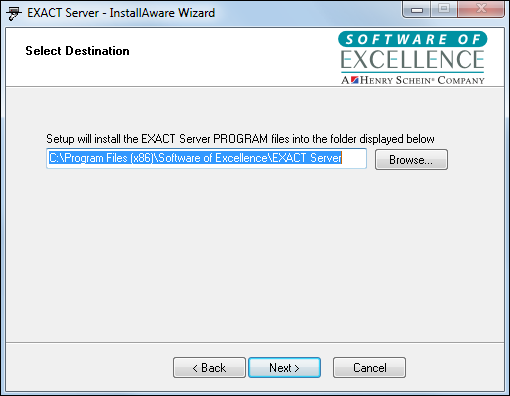
Leave this install path as is unless you want to install to a different specified folder.
Select Next > when the install path is acceptable.
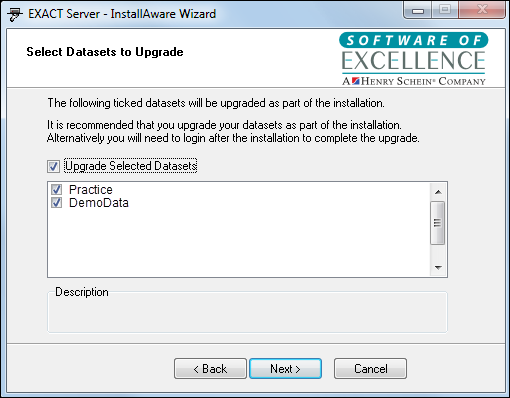
These are automatically detected datasets from previous install/s, as specified in the server's databases.ini file
For a dataset to function with the updated software it must itself be updated.
Check (tick) those Datasets that you want to update.
Select Next >
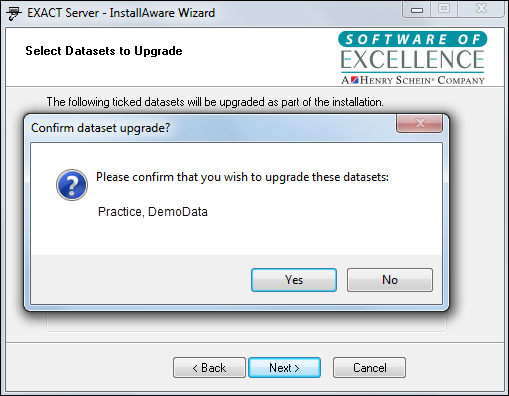
Select Yes to confirm.
Select No if these Datasets are incorrect, then use the < Back button to go back and correct your Dataset selections.
Select Next > when ready to update Datasets.
Select Next >
(Clinipad option, if installed)
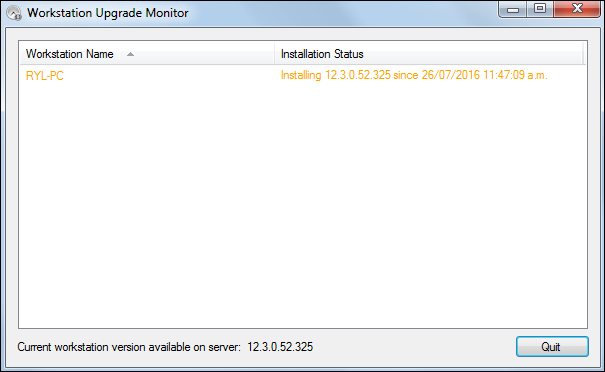
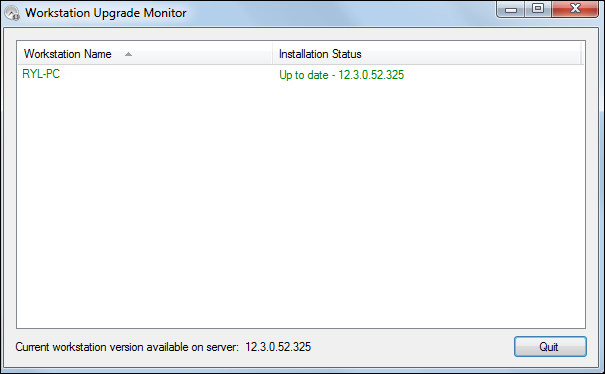
Workstation update
This proceeds automatically for software updates from the server, but you can also manually run the updates on individual workstations.
EXACT updates all workstations that are associated with the server.
Please do not Quit until the text for all workstations turns from orange to green, which indicates a successful update.
If any workstation fails to update you will need to manually update from that workstation itself, by double-clicking the dental icon on that workstation computer.
Select Quit when all text is green and all workstations are updated.
Problems?
If you have any difficulties please contact the Support Desk.
You could also look at the log files. Default log filelocations:
Log file for EXACTServer Upgrade: C:\ProgramData\Software of Excellence\EXACT Server\logfiles\
Log file for EXACTWorkstation Upgrade: C:\ProgramData\Software of Excellence\EXACT\logfiles\