Adding EasyPost support to a non-EasyPost template
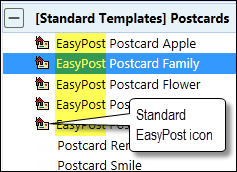
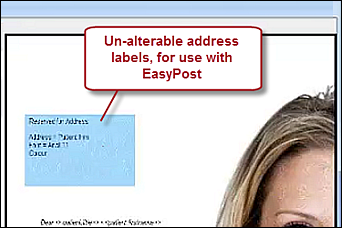
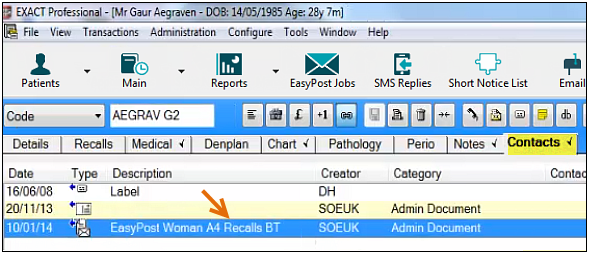
Standard EasyPost templates are identifiable by Name and by the non-editable address field in the template:
To add Easypost Support to a non-EasyPost template
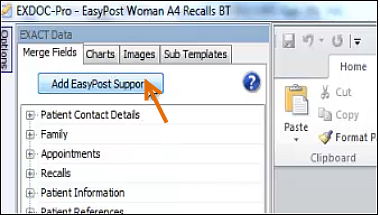
With the template open in RTF form, click the Add EasyPost Support button at top left, in the Merge Fields tab:
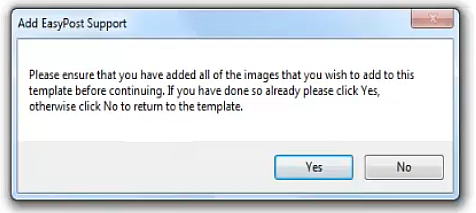
You will be prompted to confirm that you have added all required images to the template:
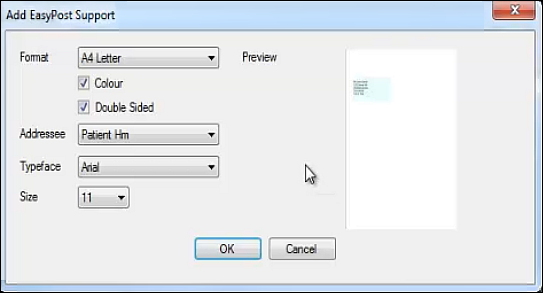
Click Yes to open the Add EasyPost Support screen:
Select the appropriate parameters for the address, including whether it is a letter or postcard, Colour, Double-sided, placement of the address, which patient address to send to, and the size and typeface of the font.
Click OK.
Remove any address merge fields that were already in the template.
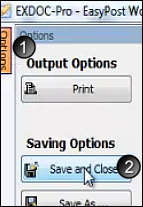
Select Options and click the Save and Close button:
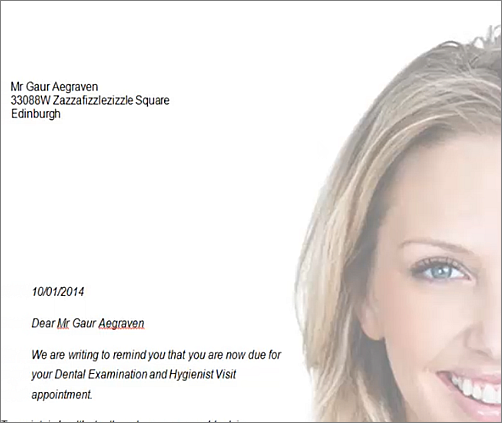
Back in the Document Details screen, click Preview to see how the template appears with actual patient data rather than merge field placeholders:
V
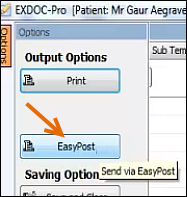
To print your document from EXDOC-Pro, simply select the EasyPost button on the Options menu:
(Optional) Check that the EasyPost job was successfully sent by