To create a slide show with new images you will need these images located in a location that is accessible from your computer.
Use the practice’s own slides and photographic images or source images elsewhere, such as via the Internet.
To be usable, images must be saved as JPEG (*.jpg), Bitmap (*.bmp) or GIF (*.gif).
Although you can browse for images from any accessible location, for convenient access, save the images in the \Bitmaps folder under the program directory on the Server or Workstation.
To create a Slide Show Sequence
Select File > Education... to open the Patient Education window.
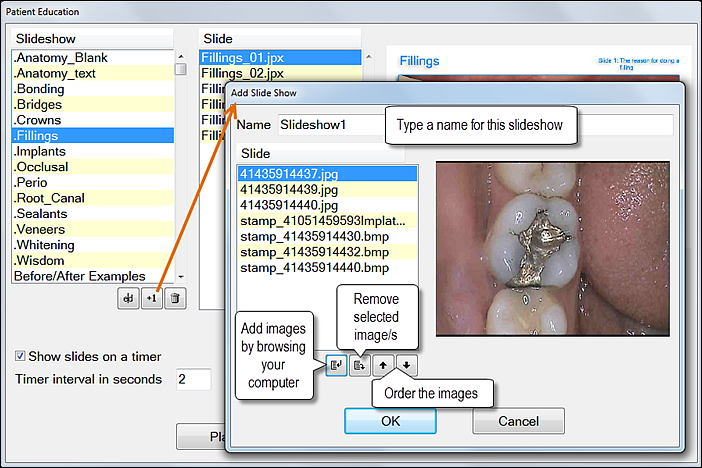
From the Patient Education window, click the +1 button to open the Add Slide Show window:
Type a suitable name for the Slide Show in the Name field.
Note that Slide Shows cannot be renamed; they have to be re-created with a different name.
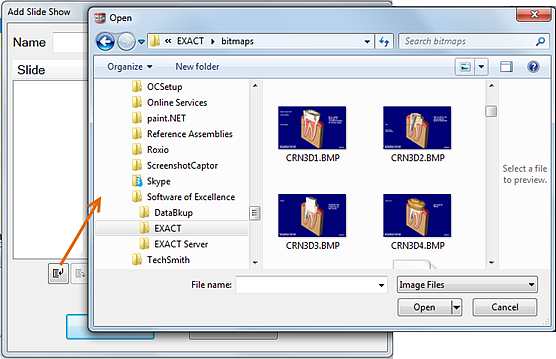
Click the Add Images button to open your Windows browse dialog, and browse for slides that you require.
Select images as follows:
Select an individual image by single click > Open button
Select multiple individual images using CTRL-Click of the images > Open button
Select a range / sequence by clicking the first image and SHIFT-Clicking the last in the range > Open button
Use the ordering buttons to order your images as required.
Click OK to save the new slide show and return to the Patient Education window.
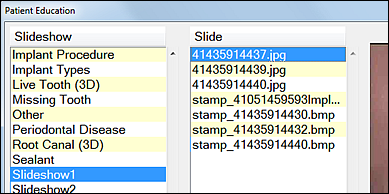
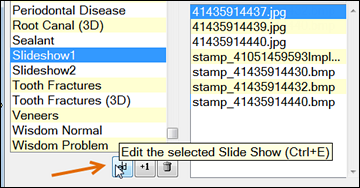
Back in the Patient Education window, locate and click your new slideshow where it is alphabetically listed:
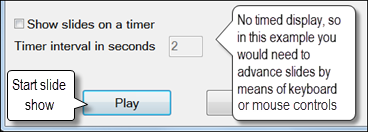
Check whether the slide show is set for timed display, or whether you need to advance slides manually, then Play the slideshow and check ordering of the slides.
To advance slides manually, use the arrows on your keyboard or press the spacebar to display clickable buttons.
If required, select the Edit button to edit the slideshow (add, remove and re-order slides).