Security requirement:
You need appropriate Security permission to configure Short Notice List Settings (Configure > Security > [Choose Security Group] > scroll down to Configure > Short Notice List Settings and check (tick) the checkbox)
Users who are not members of a permitted security group will not be able to configure Utilisation Manager / Short Notice List.
Configuration is simple:
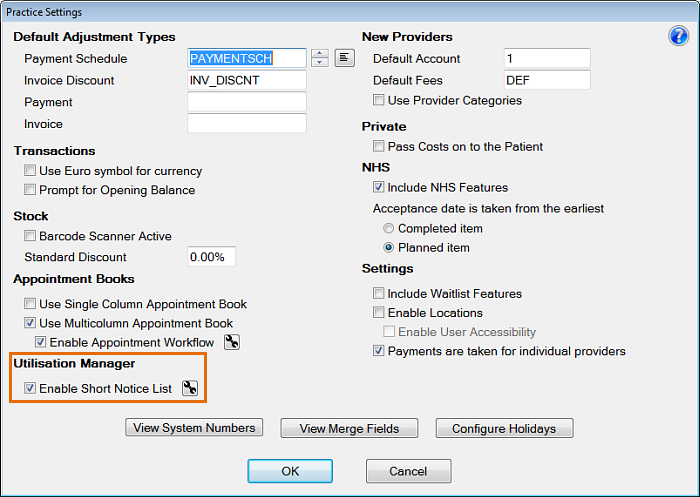
The Short Notice List is enabled by default, but if it should ever disappear from the interface, it can easily be re-enabled.
NOTE: To facilitate quick changing of Short Notice List options, Setup buttons ![]() are included in both the Short Notice List screen and Short Notice List tab (you can configure from three different Setup buttons).
are included in both the Short Notice List screen and Short Notice List tab (you can configure from three different Setup buttons).
To enable and edit settings for the Short Notice List
Go to Configure > Security > [Choose Security Group] > scroll down to Configure > Short Notice List Settings and check (tick) the checkbox:
![]()
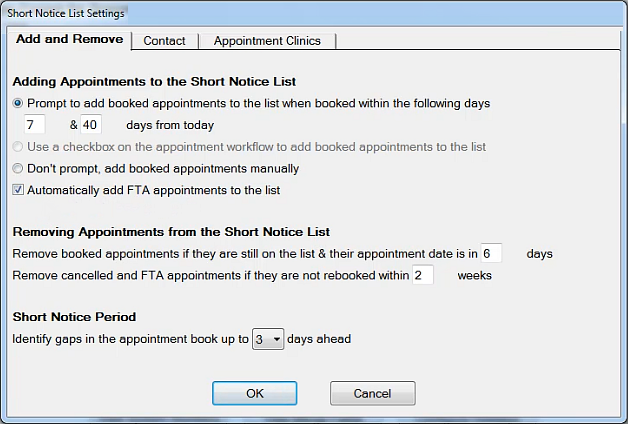
Configure the options in each tab. See:
Configuring time parameters for the Short Notice List (Add and Remove tab)
Configuring automated Contact options for the Short Notice List (Contact tab)
Appointment Clinics and the Short Notice List (Appointment Clinics tab)