This applies the Day View Appointment Book Appearance colour settings for Statuses for this user.
NOTE: All practice workstations that are configured for Status view will see the changes made by other workstations.
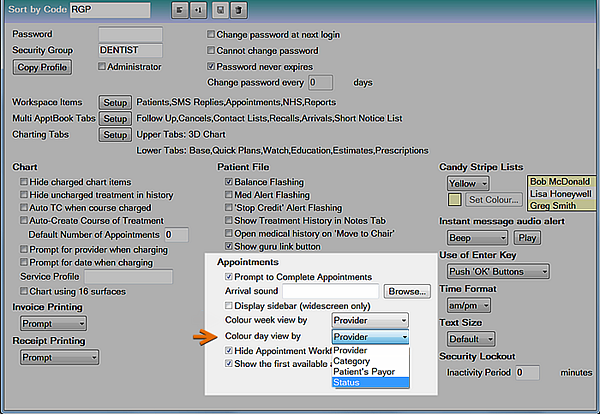
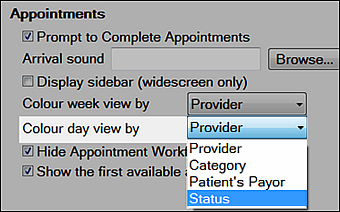
To configure Status as the primary Appointment Book display per user
This applies the Day View Appointment Book Appearance colour settings for Statuses for this user.