Configuring Appointment Colour Status
The procedure is to first configure a colour per Status, then go to User Settings and for each user colour the day view by means of the Status option.
IMPORTANT: Colour statuses are overridden by the double booking colour setting, which always takes precedence.
To configure Appointment Colour Statuses
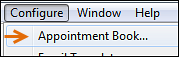
- Go to Configure > Appointment Book:
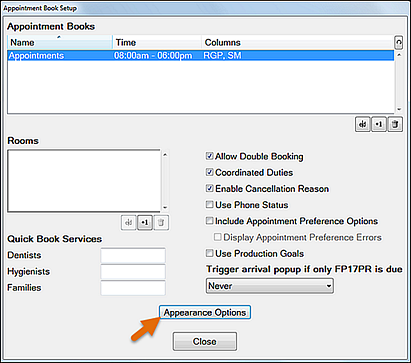
- In the Appointment Book Setup screen, select the Appearance Options button
 :
:
- In the Appointment Book Appearance screen, select the Statuses Setup button:
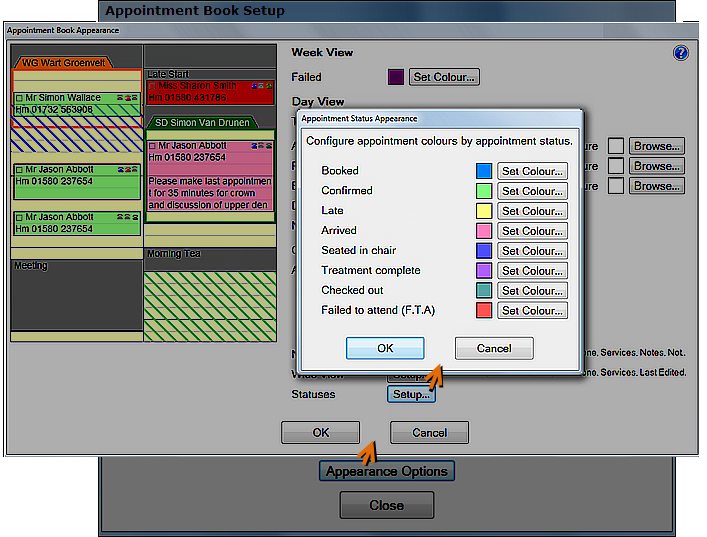
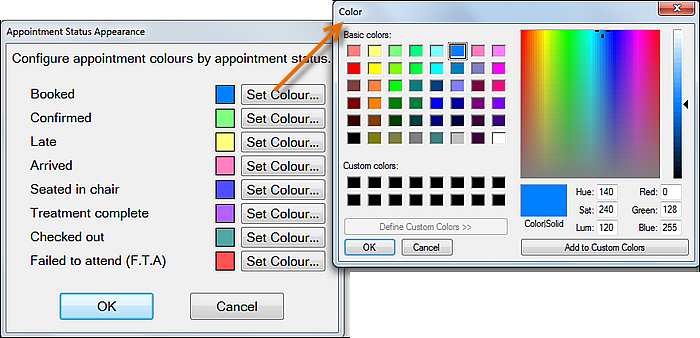
- For each Status, click the Set Colour... button and select a colour from your standard Windows Colours Selector:
- Select OK > OK and Close out of the configuration screens.
- (You also need to go to the User Settings to configure the primary colour appearance of the Day View as "Status". See Configuring the Day View as STATUS per user )
- (You will need to restart EXACT to enable the settings, whether now or after further configuration).