
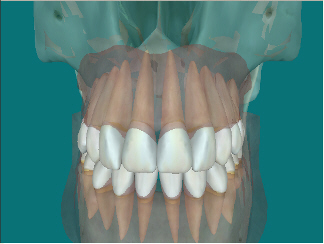
The example below shows the 3d chart with bone, gum and all teeth options activated:
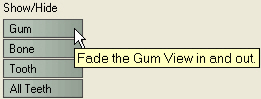
The 3D Chart also features the ability to display Gum and/or Bone when viewing the teeth in Jaw Mode. The user can control the opacity of each.
To Activate Gum and Bone Models:
The example below shows the 3d chart with bone, gum and all teeth options activated:
|
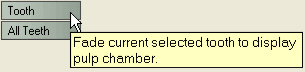
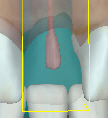
This button provides you with a scroll bar; this can be manipulated to show the root canal of a selected tooth.
|
|
This button allows you to use the scroll bar to manipulate the chart to show the root canals for all teeth.
|
To save any changes you have made, click ![]() , then save the patient's record.
, then save the patient's record.
To return the 3D display to how it was, click the ![]() button.
button.