- Click the 3D button
 in the Chart tab, or
 - Select Configure > 3D Charting
EXACT will check your hardware and software to determine the available rendering modes and automatically default to the best option.
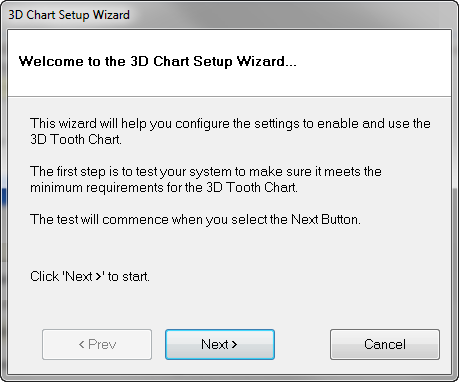
The first time that the 3D Chart is activated, a wizard will appear to take you through the configuration. The wizard needs to be run only once on each workstation but it can be run from the Configure menu at any time to change settings if there are hardware changes.
Note that the wizard may be available only to a user with administrative security rights.
To enable the 3D Tooth Chart
EXACT will check your hardware and software to determine the available rendering modes and automatically default to the best option.