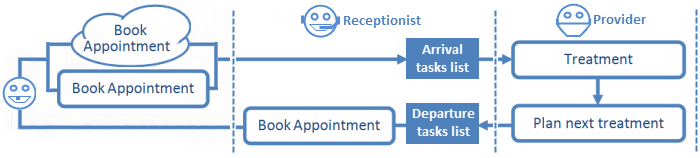
IMPORTANT: EXACT must be informed at which stage the patient is within the workflow by means of the patient status: Arrived - In the Chair - Departure.
All software procedures are based on these stages, so failure to "inform" EXACT of the stage will inhibit the possible tasks for the following stages.
For example, if the Provider does not register an arrived patient as moved to the chair (in the software), EXACT understands the patient to be sitting in the reception area, so the Provider is then unable to Charge the patient, and the Receptionist is unable to process the patient departure.
After treating the patient, Providers need to start the Departure process to trigger the final phase of the Appointment Workflow and enable the receptionist to complete the Departure Task List:
To move a patient to Departure
You can also move the patient to departure by right-clicking the patient appointment in the appointment book > Mark as Complete.
See Resetting and Editing Appointment Status.
Double-click an Appointment to open the Edit Appointment window in which to Specify Treatment Appointments for Departure.
- or -
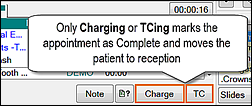
Select a treatment or appointment and click the Charge or TC button. You will be prompted "Should the patient's appointment be marked as "Complete?". Select Yes. This will change the icon on the Appointment Book from a patient on a chair to a HAND.
|
|
Saving a patient chart and creating an Estimate no longer marks the appointment as complete. Prior to v11.7, when a patient was in the chair and the Clinician selected the Save button or created an Estimate, the appointment would be marked as Complete and the patient referred to reception. From v11.7 only Charging or TCing marks appointments as Complete. |
- or -
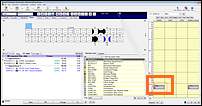
If the Appointment Book sidebar is enabled (under Configure > User Settings > Display sidebar), click the chair icon to complete the appointment. This will change the icon on the Appointment Book from a patient on a chair to a HAND.
The Appointment Workflow window, in which to specify future appointments, or
The Set Recalls window, if there are no planned treatments.