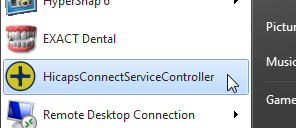
If the icon is not showing, you can start the service from the new item added to the list of programs in your Start menu:
Once the Hicaps Connect component installs and the computer is rebooted, you will notice a new icon like this ![]() displayed at the bottom right-hand corner of the windows task bar. (In a Terminal Services environment, this may show up as a blue icon.) This icon represents the Hicaps Connect Service Controller and allows a user to configure a "default" Hicaps Terminal if a Terminal ID is not set up in EXACTfor a particular workstation.
displayed at the bottom right-hand corner of the windows task bar. (In a Terminal Services environment, this may show up as a blue icon.) This icon represents the Hicaps Connect Service Controller and allows a user to configure a "default" Hicaps Terminal if a Terminal ID is not set up in EXACTfor a particular workstation.
If the icon is not showing, you can start the service from the new item added to the list of programs in your Start menu:
Note: If the icon does not appear in the bottom right hand corner of the windows task bar, this could be due to a firewall or similar application blocking it.
It is important that this icon shows up on the task bar as it might affect the way claim is being transmitted. Please contact your computer technician to have the following files enabled for FULL ACCESS.
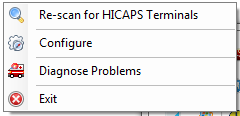
To access the configuration facility, right-click on the ![]() icon (or select the 'HicapsConnectServiceController', from the Start menu) and select "Configure" from the popup menu displayed:
icon (or select the 'HicapsConnectServiceController', from the Start menu) and select "Configure" from the popup menu displayed:
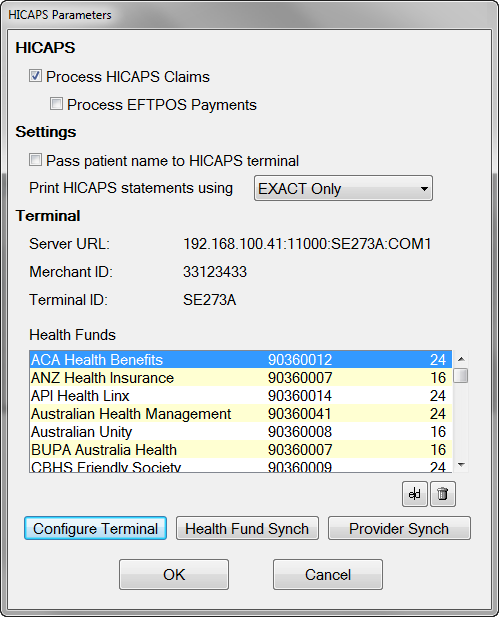
A dialog like the following example will be displayed; this will be blank for a new install, otherwise it will show the current default terminal.
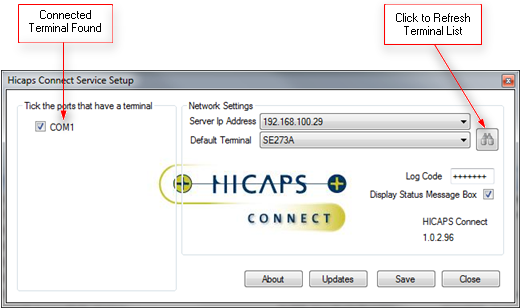
To set a default Terminal, ensure that a Terminal is connected to the workstation. Click on the ![]() icon to refresh the list of Terminals that are connected to the workstation. Select from the list of Terminals to set as the default and then click on "Save" to save the settings. Leave all other settings unchanged.
icon to refresh the list of Terminals that are connected to the workstation. Select from the list of Terminals to set as the default and then click on "Save" to save the settings. Leave all other settings unchanged.
In EXACT you must ensure that a Terminal ID is configured for the particular workstation.
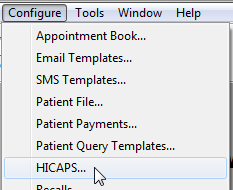
Click the ![]() button, or press the
button, or press the ![]() key.
key.