Importing an Image in the Video tab

To import an image in the video tab

  1. Click the Import button at the bottom of the Video tab.

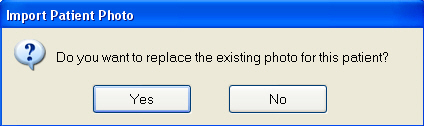
    If you have purchased only EXAMINE-ID, and if the patient already has an image on their record, the following warning will appear:
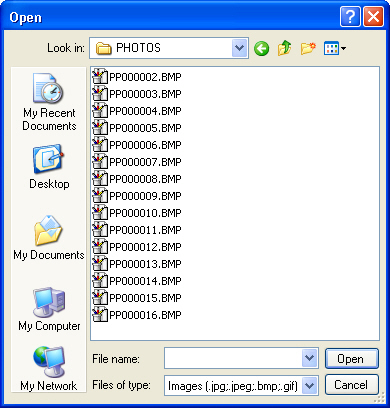
  2. Click Yes to replace the current image.
  3. A browser window will display, from which you can locate and select the image to be imported, then click Open:

  4. Enter a description for the image and click OK to complete the import.

  5. The patient’s image will be imported and displayed in the Video tab as shown below:

  6. To add the patient’s photo as an ID photo, drag a box around the face with the left mouse button depressed.
  7. When you release the button you will be prompted to save as an ID photo.

See also...

Video Tab

Capturing an image or video from an input device

Next >>

Capturing an image or video from an input device