To add a new Payor
|
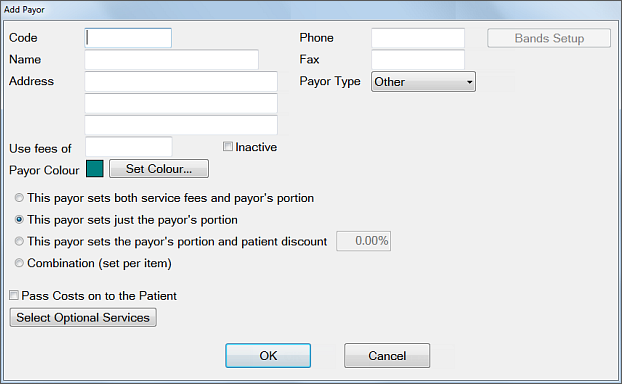
Code |
Enter a unique code for the new payor. This should be consistent with payors already entered and is usually an abbreviation or acronym (e.g. ‘HIC’ for Health Insurance Commission). |
|
Name |
Enter the payor’s full name. |
|
Address |
Enter the payor’s billing address. This is the address that will appear on claims.
|
|
Payor Type |
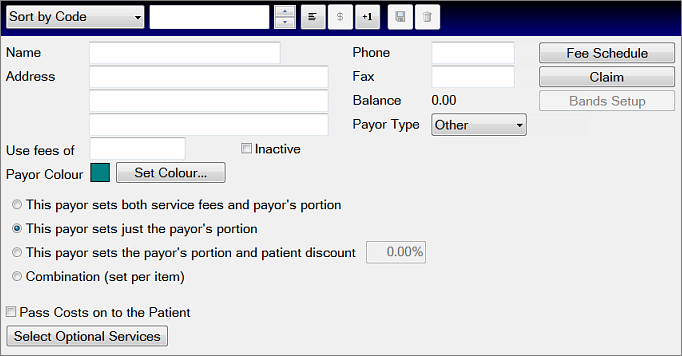
Select the Payor Type code from the drop-down list. This will determine payor functionality - see Set Payor Fees Calculation Method for further information. |
|
Use Fees of |
If this payor uses the same fees as another existing payor ( i.e. a different payor but the same fee schedule), click on the For other fee plans, see Set Payor Fees Calculation Method. |
|
Inactive (checkbox) |
The ‘Inactive’ checkbox is used to disable a selected payor, either temporarily while setting up the payor, or at a later time. |
|
Course of treatment Colour |
Use the Course of Treatment Colour option to assign a unique colour to the headers of Treatment Plans for this payor in the ‘Chart’ tab. This also helps identify the payor within the system. Payor colours are only used if the Patient File is configured to display treatment plan colours this way. |
|
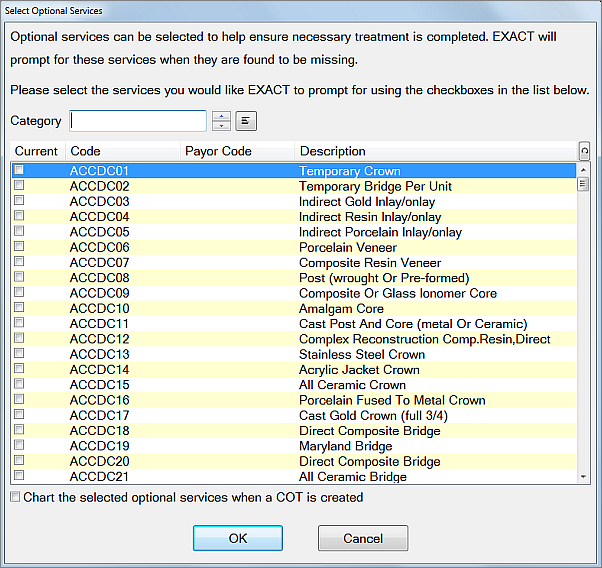
Select Optional Services Click this button to select optional services to be charted as part of a course of treatment by the current payor. If the courses selected are missing when the course of treatment is charged, the user will be prompted to either add or ignore them. In addition, you can set up optional services to be automatically charted when a course of treatment is created for that payor, in a similar way to Quickplans.
|