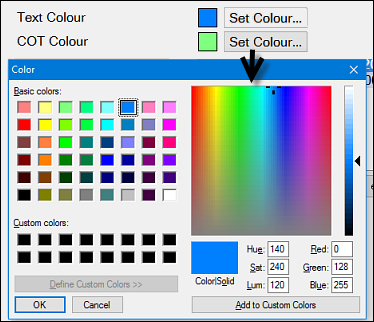
Ensure that the text colour is easily readable.
TIP: When setting text colours, choose a slightly darker shade of the Treatment Plan and appointment book colours, for the ‘Text’ colour. This will ensure consistency throughout the program.
|
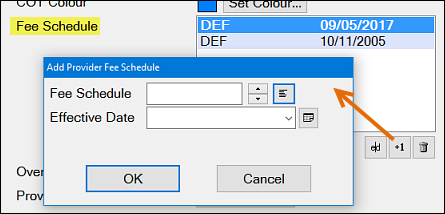
Fee Schedule:
This field sets the fee schedule the provider will use. The Default fee schedule is DEF. Change to an alternative fee schedule if required. Add, Edit and Delete from the Fee Schedule area. |
|
|
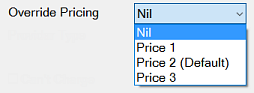
Override Pricing:
This setting overrides the Patients Price Code (1-3) setting in the Patient File. By default this is set to Nil, which constrains EXACT to use the Patient’s Price Code. However, if you specify a specific Price Code, all fees recorded by this provider will be from the specified price code set in the Fee Schedule. |
|
|
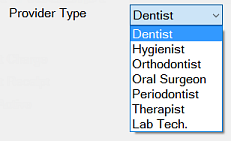
Provider Type: Identifies the Provider’s speciality:
|
|
|
Provider No. |
If required, specify the Provider’s code number. |
|
|
|
|
|
For some providers, you will need to enter the ABN code for tax purposes. |
|
Can’t Charge |
Use the check box to prevent the provider from charging. Generally, this is used only if the provider charges under an alternative provider code or becomes inactive. |
|
Can’t Receipt |
Use the check box to prevent the provider from being available in the ‘Patient Payments’ window. |
|
Not Active |
Use the check box to identify Providers who are no longer practicing at the practice. All provider details and transactions are still visible but the provider is not displayed in various areas of EXACT. |