- Clicking the Estimates button in the CoT window:
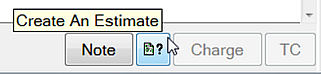
- Right-clicking the CoT and choosing the Create Estimate option, or
- Right-clicking the CoT > Edit Course of Treatment > Create Estimate, or
- Under Estimates Tab > +1 (Create Estimate)
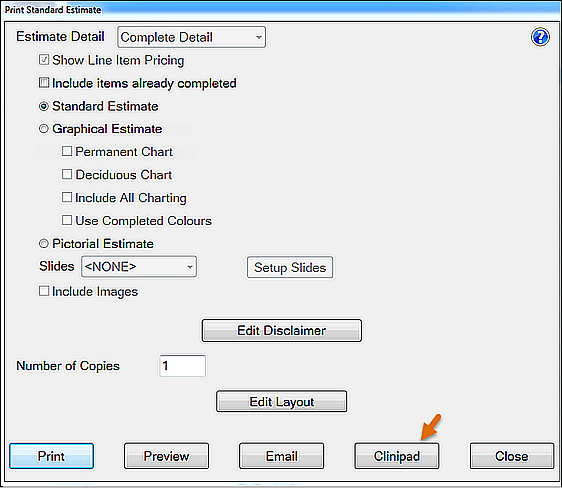
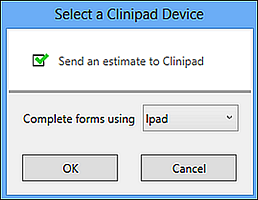
EXACT will check that the selected Estimate has a signature area defined, and that Clinipad device is available (if there is a problem EXACT will display an error message).
NOTE: While the Clinipad session is active you are constrained to the current Patient File. Only when the Clinipad session has been returned by means of the Return button can you navigate to other patient files.
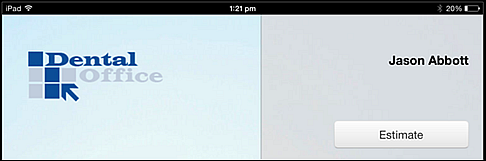
The Estimate displays on the Clinipad:
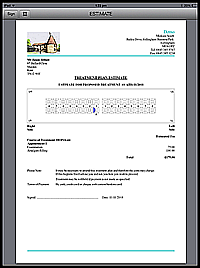
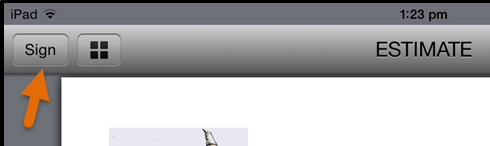
They are presented with a screen showing the first signature box on the form. From here they can Cancel if they want to go back, but the forwards options are not available until they have signed.
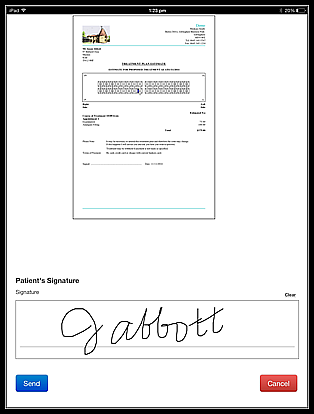
The signature field is labelled using the label defined in the EXACT Estimate layout, so it can clearly state who is supposed to sign and what the signature is for.
For example, with appropriate configuration it is possible to have the patient sign and the dentist countersign in confirmation.
The Estimate button on the Clinipad front screen displays a check (tick):
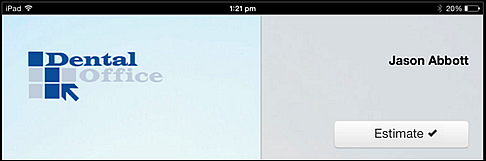
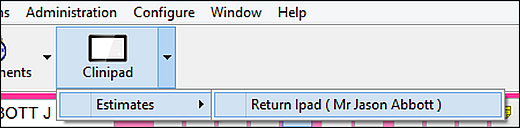
(If there are no patients with signing sessions open the drop down menu will inform you)
If the session resulted in a signed Estimate it will be stored against the Estimate record in the Estimates tab as a PDF file. The listed record displays a Signed icon:
![]()
If the patient declined to sign, the Estimate record will still be created, but there will be no PDF file stored against it.
If the Estimate was returned by mistake, or you need to amend it before the patient will sign, return to the Chart and either create a new Estimate, or reprint the existing one from the Estimates tab.
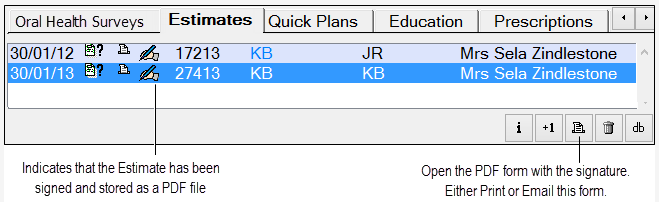
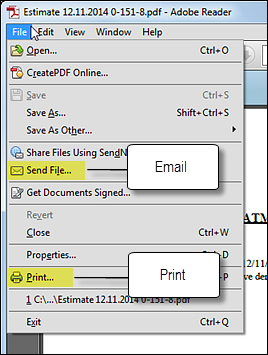
This causes the PDF version of the Estimate to display in your Adobe Reader, from where you can Print or Email the PDF form using standard Reader functions: