See also: ![]() Recall Automation
Recall Automation ![]()
Configuration overview
The broad steps to configure automated recalls are:
Configuration options - standard or variable defaults
Recall Manager was initially designed with a single default recall service, appointment length and recall interval for recall services.
This default could be customised per patient in the patient file Recalls tab:

From EXACT v12.2 practices have the option to either
See Variable Recall Defaults for further information.
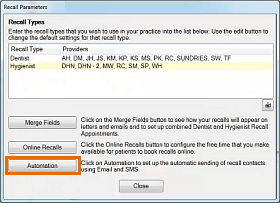
To automate recalls
(Requires access rights to recall configuration)

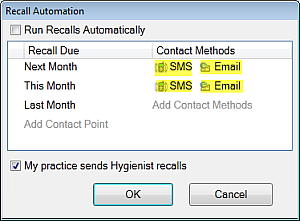
The Recall Automation screen displays:
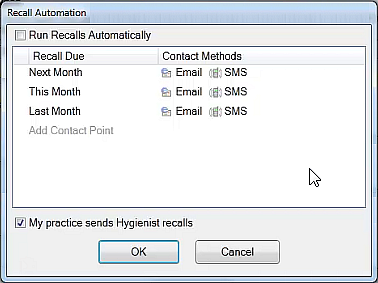
The purpose of this screen is to specify whom to contact, when, how frequently, and what communications to send (SMS, Email, EasyPost). It only applies to patients who are due for recalls; it does not send to Patients who have booked.
Start by checking (ticking) the ![]() Run Recalls automatically checkbox.
Run Recalls automatically checkbox.
You can setup multiple sequential custom recall actions. For example:
Start by selecting when you will contact patients based on when their recalls become due.
The above screenshot displays Contact Points for Next Month, This Month and Last Month. However, you can easily create further Contact Points.
To create a Contact Point:
Click the Add Contact Point hyperlink: ![]() .
.
Complete the details in the Contact Point Detail screen, and then click OK:

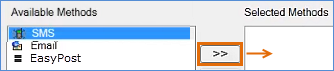
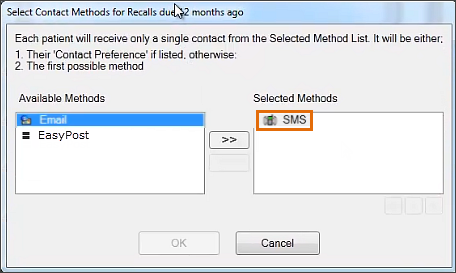
You will see a Select Contact Methods screen, for adding methods to the Contact Point (how EXACT will contact a patient):

Click a Contact Method on the left and click the >> button. For example, SMS:
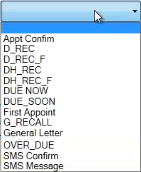
A Select Templates screen immediately displays, from which you can specify which templates to send for single patient or for family:

(In the above example we are working with the default All Patients group, for which we will be adding templates. However, what if you want to use different templates for some people within that grouping? Or what if you want to use a custom template per Provider?
In this case you need to Add patient groups, and specify the particular templates per group. When EXACT then sends recalls it will first try the custom group before trying the All Patients group. See also: Using multiple custom templates (adding Patient groups))
Specify templates for the Contact Method:
Any dropdown option that you leave blank will simply be ignored by EXACT.
As you highlight a dropdown, a selector appears next to it:
![]()
You then have the option to select a template from the dropdown menu or by clicking the selector ![]() and opening the View Templates window:
and opening the View Templates window:
|
|
or |
|
Select appropriate templates, until you have identified the templates that you require (leave boxes blank where you do not need templates):

Click OK to return to the Select Contact Methods screen, with your Method now correctly positioned at right:
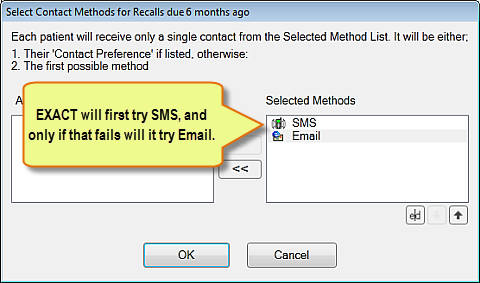
When recalling, EXACT will attempt contacts in the specified order of Contact Methods, unless the Patient has a preference registered in the Patient File, in which case EXACT will use that preferred contact method.
For a Patient without any registered preference, EXACT will try to contact a patient by means of the first method, and if this fails, it will try the next, and then the next if necessary:
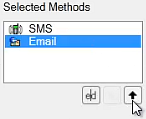
To re-order the Automated recall Contact Methods
Select a Method and then use the up/down arrows:
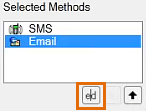
To edit the Automated Recall Contact Method
Select it and then click the Edit button:
- or -
You can also edit by clicking a contact method from the Recall Automation screen: